That being said, I do want to start today by letting you know I saw a similar design to the bunny on my card at another card maker's blog. Her name is Juliana (there was no last name listed that I saw) and you can see her bunny here if you would like to see her design. I changed the color of the bunny and the way the ears were on the rabbit. I also changed my background. Only the basic idea of the rabbit was cased. Now that I have taken care of that (I did not want to forget today : ) ) let me show you my card.
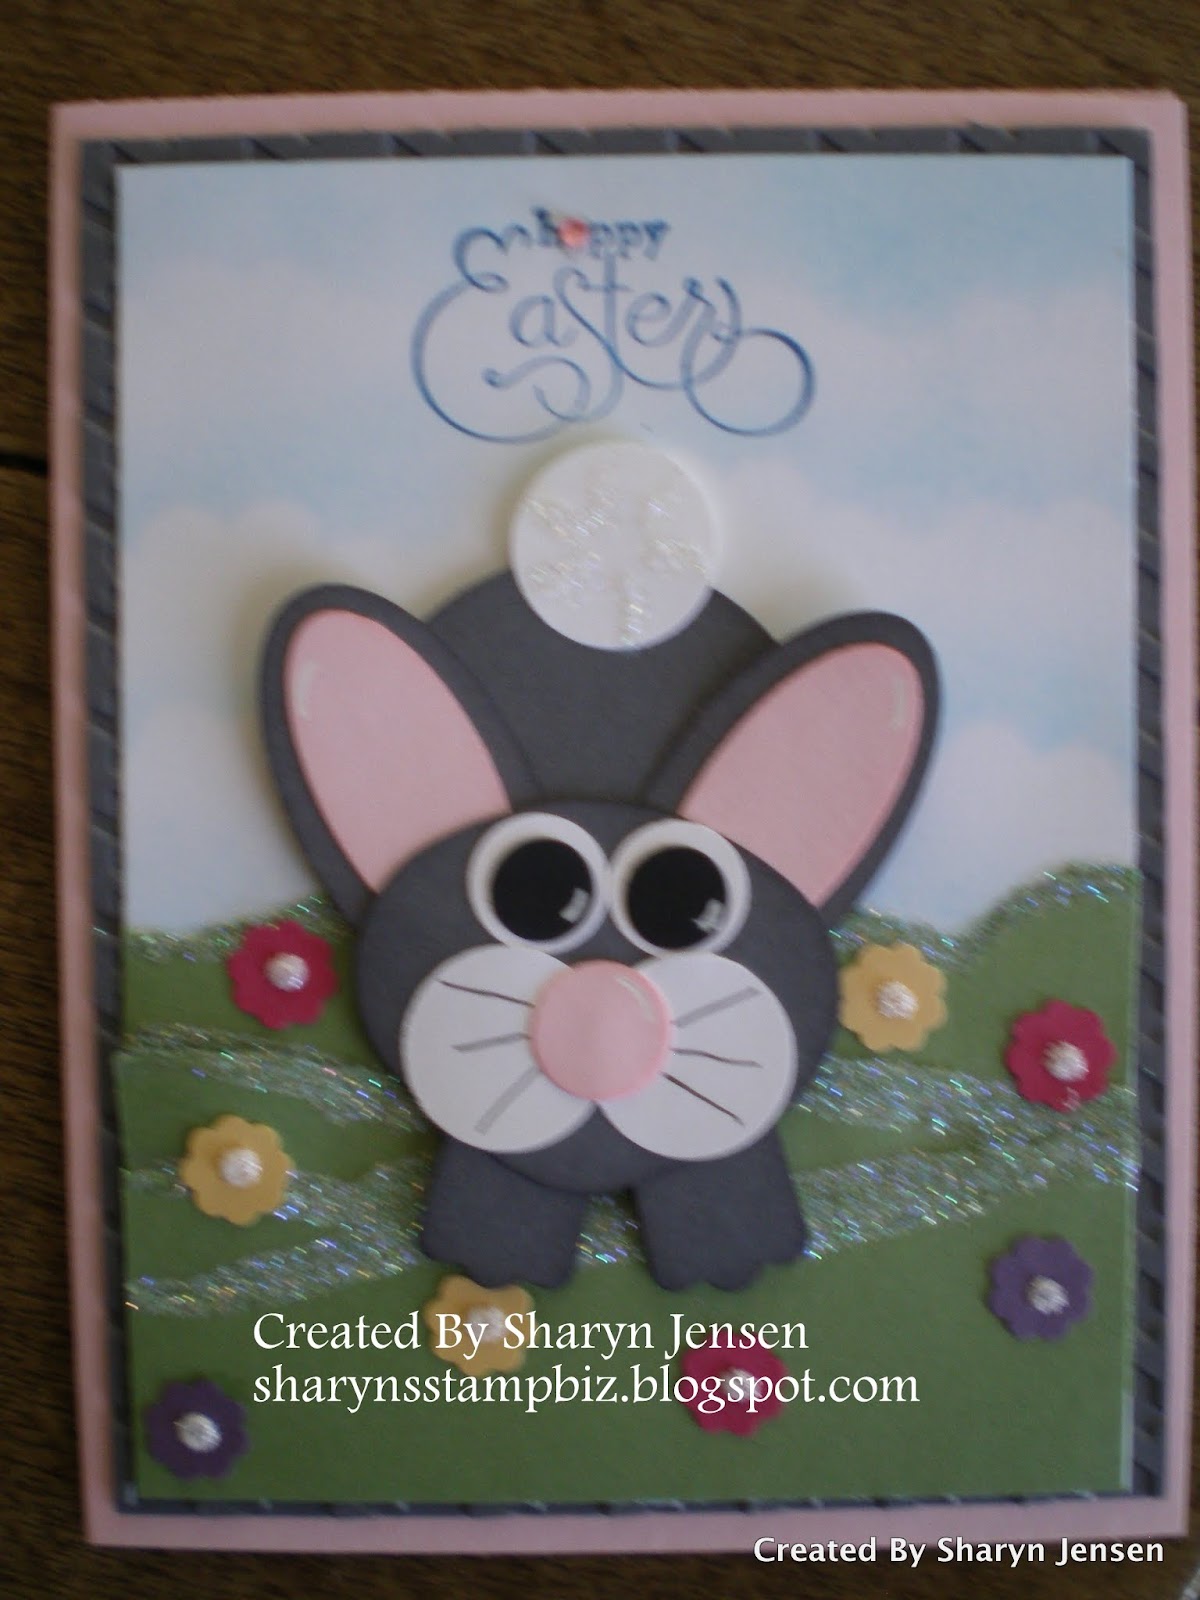
The reason this bunny caught my eye is I love how he looks like he is hopping down the hill. I started with a Pink Pirouette base card cut at 5 1/2" x 8 1/2", scored at 4 1/4". I then added a layer of Basic Gray measuring 4" x 5 1/4" which I had run through the big shot using the Houndstooth impression folder. Now you really cannot see the texture on this so it us up to you if you want to do this step. Next I took a piece of Whisper White card stock cut at 3 7/8" x 5 1/8" and using my pastels (chalks) I created the sky background on it. I then took a scrap of Wild Wasabi card stock and tore strips of it to make the hill. I added Dazzling Diamond glitter to the edges of the grass for added effect. Next I used the scallop flower from the itty bitty punch pack and punched flowers in Perfect Plum, Rose Red, and So Saffron. I scattered these around my hill and then added a dot of Stickles glitter glue to the center of each flower. While this dried, I started building my bunny.

I will give you a run down of the punches I used to make him. I chose the colors for this guy to be Basic Gray, Pink Pirouette, Whisper White, and Basic Black. The ears are comprised of 2 punches - the large oval punch and the retired small oval punch. His body is a 1 3/4" circle punch. For the head, I used the ornament punch. I cut off the hook and rounded the tip for his chin. The cheeks and tale are from the 3/4" punch. I drew the whiskers on the cheeks with a fine tip black pen and added Dazzling Diamond glitter to the tail. The nose and white of the eyes are from the 1/2" circle punch. The black of the eyes is the circle from the itty bitty punch pack. For his little feet, I punched a modern label and cut it in half. I added white gel pen to the eyes, nose and ears for enhancement. All in all he is pretty easy to make.

Here is a closer look at the face and at the hills and flowers. I just wanted to be sure you could really see all the details of the background.

Last but not least is the greeting. I used a stamp from the retired stamp set Well Scripted. I stamped it in Pacific Point ink directly onto the card. As I was looking at this, I decided a more appropriate title might be "hoppy Easter" so I took out my rhinestones, chose a pretty pink one, and covered up the "a" to make it an "o". Hopefully that will come across to the recipient of the card. I do apologize for the blurriness in the picture. I took several shots but this was the best. Apparently, I need to work on my photography skills!
We have once again reached the end of another week. Take time this weekend and do something fun. Spend time with family and friends if you have the chance. I will be back on Monday with another card to share with you. Thanks for stopping by today. Have a great weekend and I will see you Monday!!
No comments:
Post a Comment