Let me show you this cute little card. This one is so easy to make you will want to make one of your own. Are you ready to start? Let's get going!
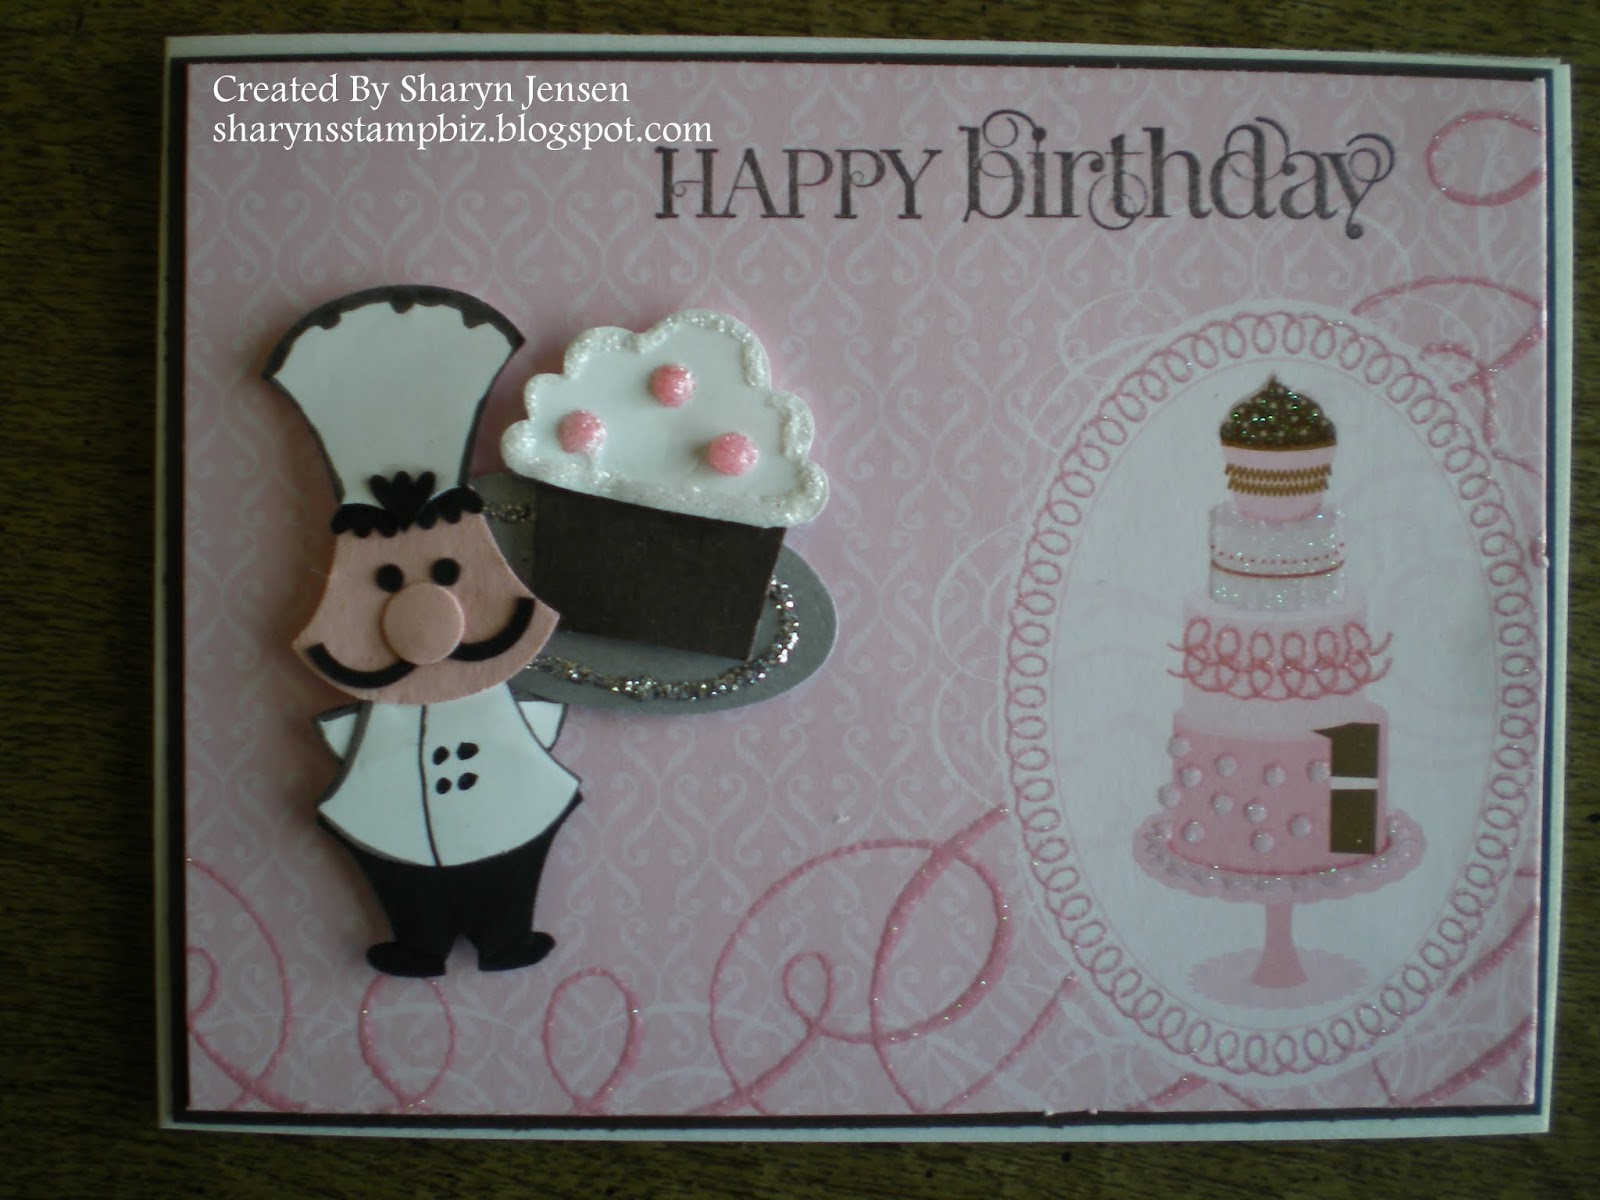
The best thing about this card is that with just a color change, the card works for males and females. We need those versatile cards in our arsenal don't you think? For this card, I chose Shimmer White for my base card, cut at 4 1/4" x 11", scored at 5 1/2". I added a layer of Early Espresso on top of that cut at 4 1/8" x 5 3/8". I chose this color based on the designer paper I used. The frosting and the cake layers went nicely with that color. This particular designer paper is one that was part of a premium stack of paper I picked up at a local craft store. I love the glitter pattern around the edges and though the cake worked well for a birthday theme. I used the "Happy Birthday" stamp from the set curly cute and stamped it in Early Espresso ink directly onto the paper.

The tray the chef is holding was made using the large oval punch. I punched it out of Brushed Silver card stock and added a ring of silver glitter glue to define it. Next, I pulled out my cupcake builder punch. I punched the bottom of my cupcake out of Early Espresso card stock and the top of the cupcake from Shimmer White card stock. I added some white glitter glue to the edges of the frosting and light pink glitter glue dots for decorations on the cake top.
I learned to make this little chef from none other than Ellen Kemper. The truly amazing thing about this guy is you need only 3 colors of card stock and 1 punch. Yes, 1 punch. The colors I used are Blushing Bride, Whisper White, and Basic Black. I edged the chef coat, arms, and hat using a black felt tip pen. I also drew the flap of the coat and the buttons on with a fine tip black marker. All pieces for the chef (hat, face, nose, eyes, nose, coat, hair, arms, pants, and feet) are all from the owl builder punch. The hat, face, coat and pants are the owl vest. The hair is the owls feet. Eyes and nose come from the small and medium circles of the owl punch. Last, his arms and feet were made with the heart of the owl builder punch. Put it all together and you have one cute chef. If you want a mustache for your chef, you will need 2 more punches. The mustache was made by punching the circle from the itty bitty punch pack out and then punching a 1/2" circle around the hole. You cut the ring in half and position it how you want it. If you do not want the mustache, I would suggest you draw on a mouth for him. The chef and tray are attached using dimensionals. I glued the cupcake top to the bottom with a liquid glue and then attached it to the tray using dimensionals as well.

For the inside of my card, I wanted to carry the theme into it by having the cupcake on the corner. Once again, I used the cupcake builder punch. I punched the top out of the dsp I used while the sprinkles were punched from Shimmer White. The bottom of the cupcake is once again Early Espresso. I attached the sprinkles to the top using a glue pen. The top is adhered to the bottom using liquid glue and the entire thing is attached to the card using runner adhesive. For the greeting, I used a stamp from the set Crazy For Cupcakes. I stamped it on Shimmer White using Early Espresso ink. It was punched out using the large oval punch and layered onto a piece of Early Espresso which was punched using the scallop oval using runner adhesive. It is attached to the card using runner adhesive.
I hope all of you enjoy your Monday. Try to take time to do something you love. I will be back tomorrow with another share. Thanks for stopping by today.
No comments:
Post a Comment