
I started this card using a Whisper White piece of card stock. I try to stick to neutral colors for the base card of these so that it will fit the person no matter what. There is a simplistic elegance to it that just seems to come across to me. I hope it does to you. Let's break down the 2 main components of this card.

Starting with the top piece, I used a piece of Basic Black card stock cut at 3" x 5 1/8" . I then chose my color pattern to work with for my stripes. For this card it is Island Indigo, Basic Black, and Lucky Limeade. I cut strips of each color at 3/4" x 3". I then decide on my pattern for this card. I placed runner adhesive all over my black backing and carefully placed my strips on it. Once the strips were all on, I placed the piece into the Diamond Plate impression folder and ran it through the big shot. I then took a piece of 1/4" grosgrain ribbon and tied a simple not around it.

The greeting comes from the stamp set Perfectly Penned. I wanted it to fit in with the color scheme so I decided to used my Stampin' Up! markers to ink the stamp. This allowed me to use both Island Indigo and Lucky Limeade to color the letters on the stamp. Use the brush tip end of the markers to do this and be patient. You need to do this carefully so you get the look you want. I always mouth breathe a warm breath of air onto the stamp to re moisten any part of the ink that may have started to dry. Stamp it down and see how beautiful it looks.
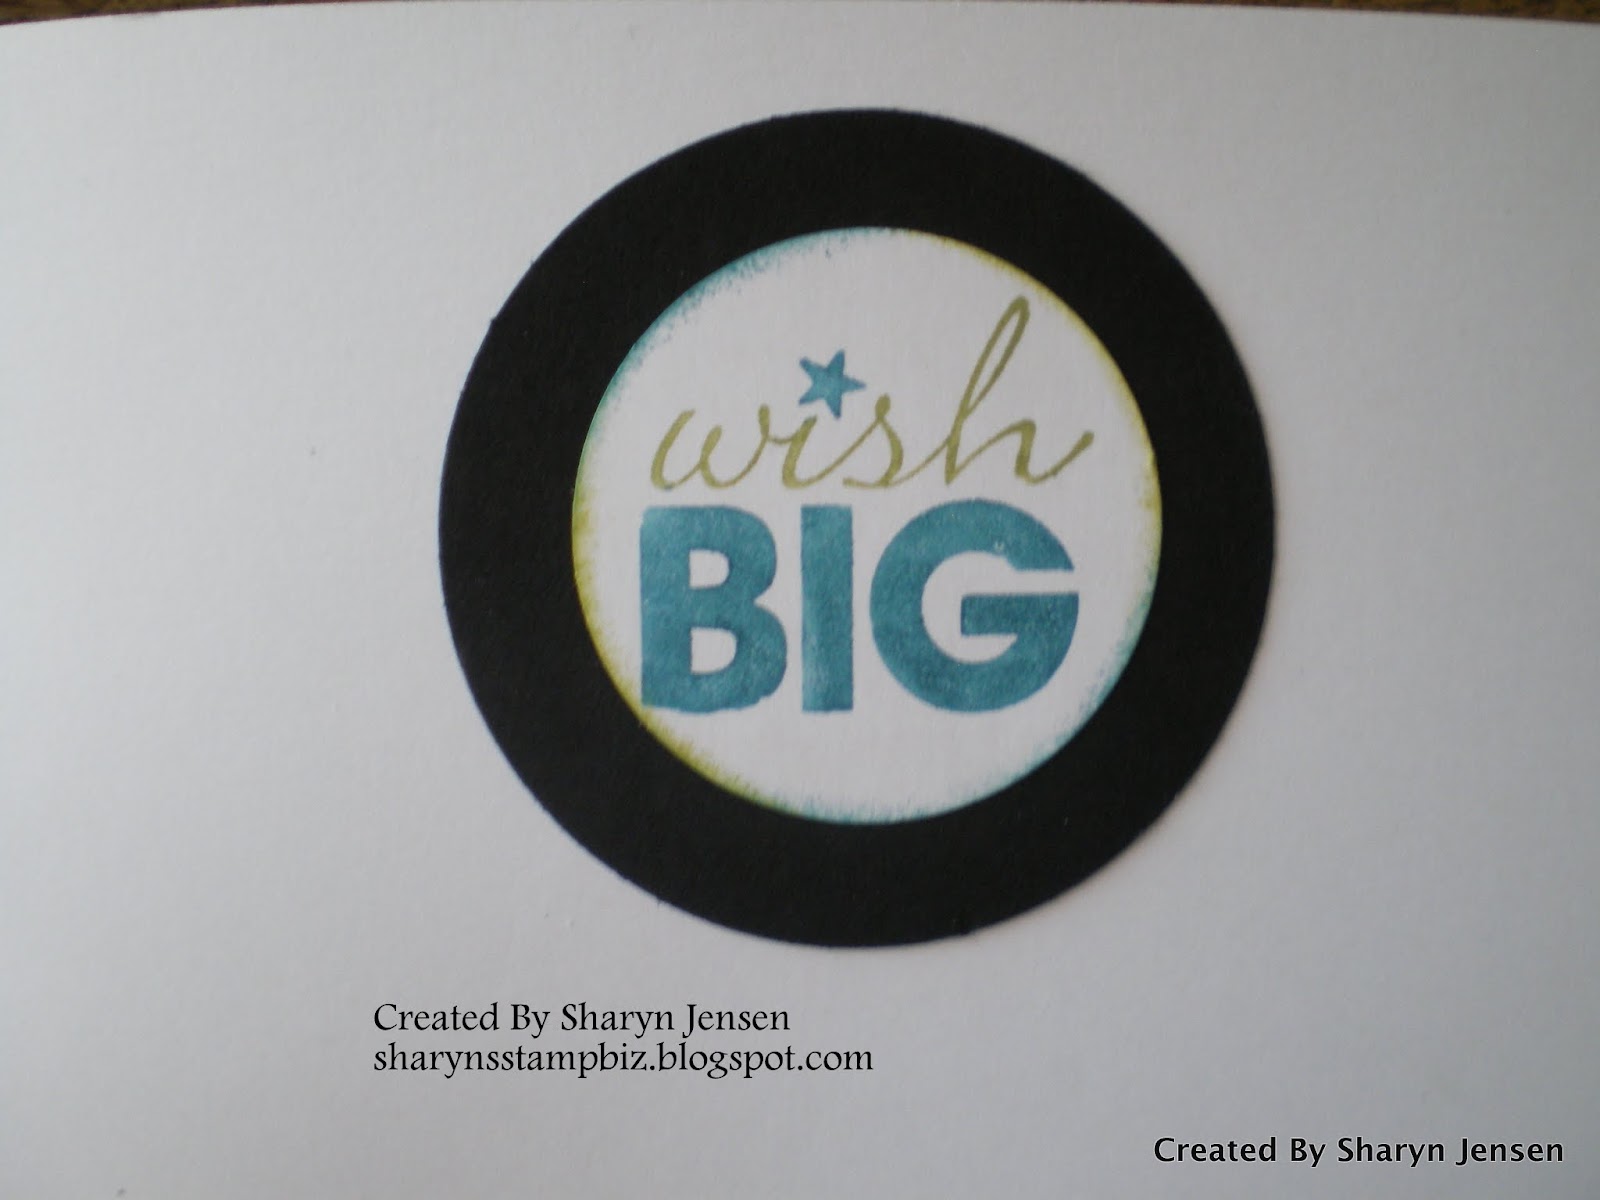
For the inside, I turned to my stamp set called Word Play. I used the same 2 colors of ink to color the words here too. Again use the brush tip of the marker to apply the ink to the rubber. I punched it out using my 1 3/4" circle punch. I took my sponges and edges the circle using the Indigo and Limeade ink to make it pop. I then layered the white circle onto a Basic Black circle punched out with my 2 1/2" circle punch. The colors really stood out then!!
To change the feel of this card to be more feminine, simply choose colors that make it feel that way to you. For me, I turn to pinks or purples or bright colors. Give this one a try. It is such a simple card to make but looks great when finished.
Hopefully your Tuesday is going well. I will be back tomorrow with another card to share with you. Please come by to see it. Thanks for dropping in today!
No comments:
Post a Comment