Hi everyone and happy Monday. Well today is the day. It's my daughter's 21st birthday. It's hard to believe 21 years have gone by so fast. I am tremendously proud of the young woman she has become. She is absolutely wonderful.
Now even though today is her actual birthday, I will not be spending it with her. Instead, we are going to spend the entire day Wednesday celebrating with her and her boyfriend. Of course, that means that I cannot share her card with you just yet. So I decided to go with another Disney star and share her dress, well kind of a dress. Since she is actually a fairy, I am not sure if her outfit is a dress or not. Oh well. Here we go.
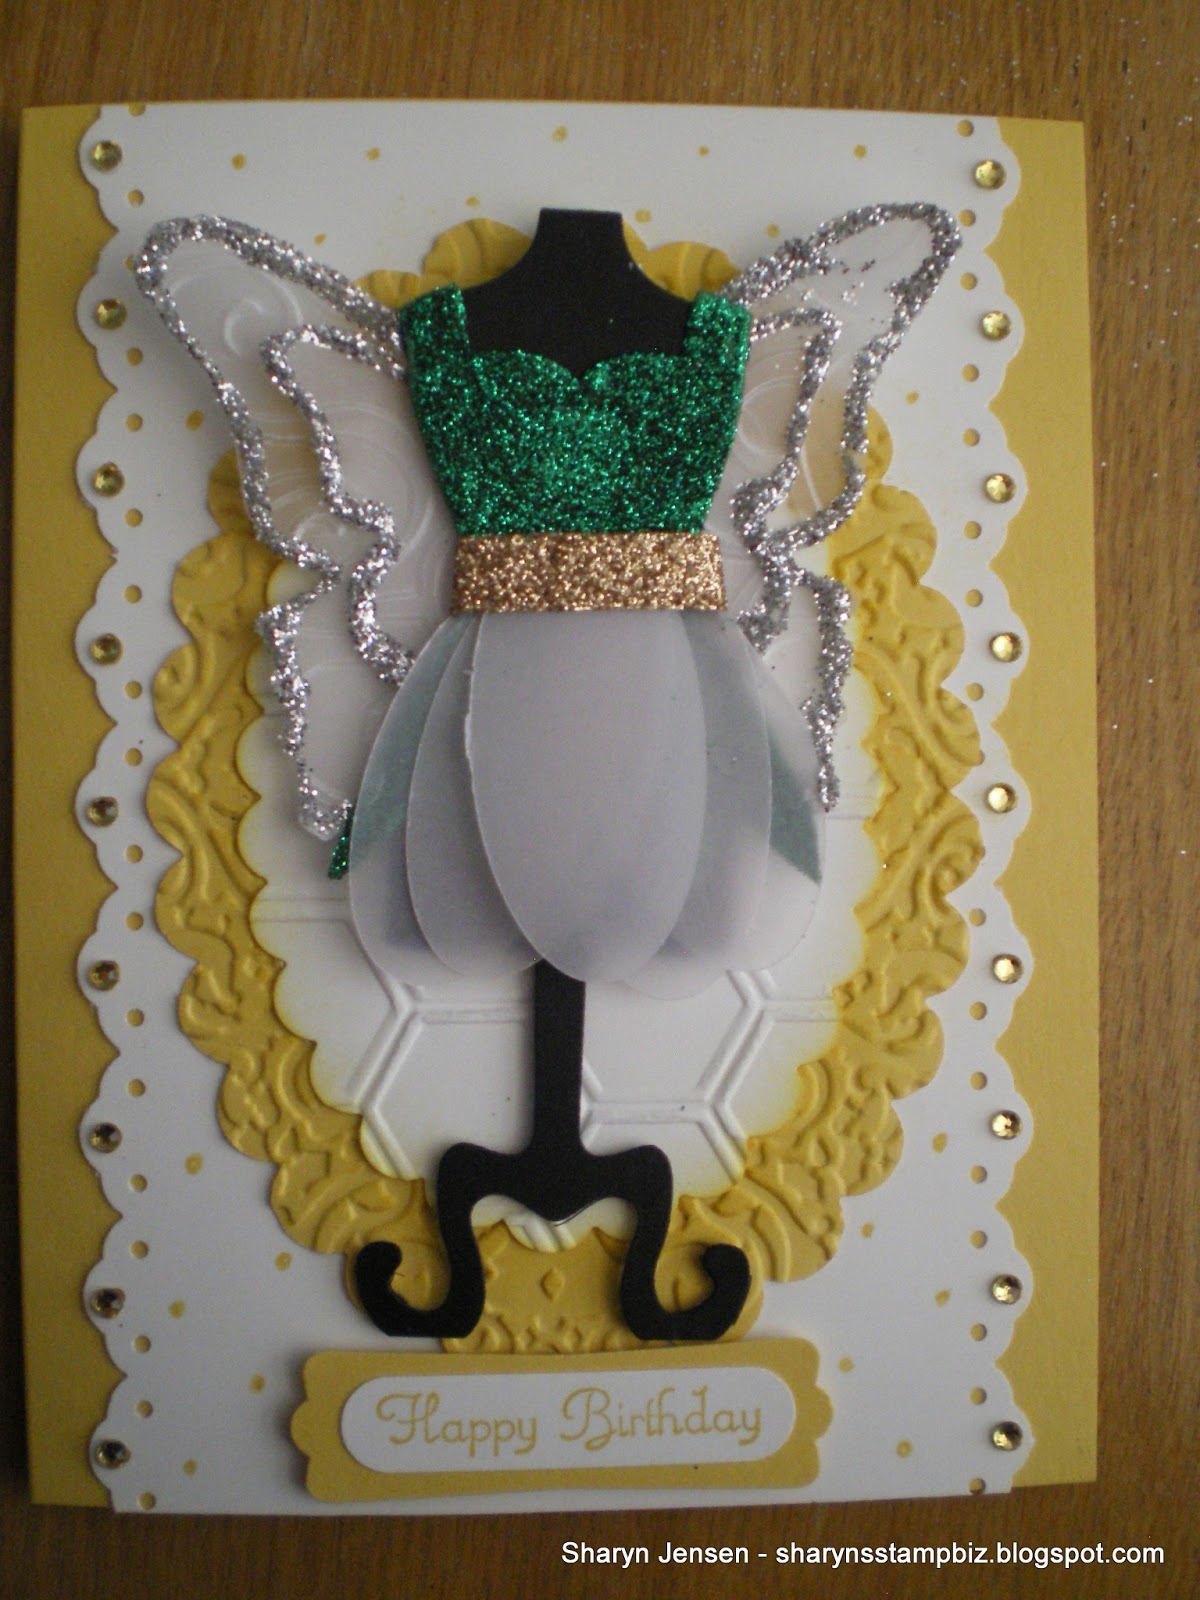
I started with a base card of Daffodil Delight cut at 5 1/2" x 8 1/2", scored at 4 1/4". To this base I added a piece of Whisper White. It is cut at 4 1/4" x 5 1/2". I then used my eyelet lace punch to punch each side of the white. It is attached to the center of the card front using runner adhesive. I then added dots to the front of this using the Daffodil Delight marker. I also added small yellow rhinestones to the center hole of each eyelet scallop.

To begin the dress, I first used my dress up framelits and cut out the dress form from Basic Black. Next, I took a piece of Garden Green card stock and cut out the sundress using the same framelits. I cut the dress short using my scissors. I then added green glitter to the entire dress using my 2 way glue pen. I then took a piece of vellum paper and punched out 5 large ovals. I cut a strip off of a piece of Champagne shimmer card stock for the belt and glued the ovals to it. This was then attached to the dress as the belt. Finally I cut out the butterfly wings from vellum paper using my big shot and the beautiful butterflies die. I ran these through the big shot using a swirl impression folder and then edged them with silver glitter. The glitter is attached using TomBow glue. I set these aside to dry and worked on the background.
I started by taking out a set of scallop oval framelits I have and cut one out of Daffodil Delight and one size smaller out of Whisper White. I ran each of these through the big shot using a couple of impression folders - the daffodil went through using an oval shaped folder while the white used the honeycomb folder. I attached both the ovals to the card using runner adhesive.
By now the wings were dry so I attached them to the back of the dress form using glue dots. I added dimensionals to the back of the dress form and attached it to the card.

Finally it was time to add the greeting. I used my Create a Cupcake stamp set and stamped the greeting using Daffodil Delight ink onto Whisper White card stock. I punched this out using the word window. I then punched a modern label out of Daffodil Delight card stock. I attached the white greeting to it using runner adhesive and attached the entire greeting to the card using dimensionals.
Now I am off to finish a few things for my daughter's birthday. I am not sure if I will share her card with you on Wednesday or Thursday but it will be one of those. I just want her to see it first.
I hope your week if off to a wonderful start. I am so glad you stopped by to see me today. I will be back tomorrow with another share for you. Thanks for visiting.
No comments:
Post a Comment